


Opinion
1 How to build a real-time dashboard using AWS Amplify, AppSync and Lambda [Part 1]
Published on 05 Nov, 2020 by Gishan
In the knowledge-sharing spirit of the Green Custard team, I've put together this 4-part guide which illustrates how to build a near-real-time (one-minute frequency) data dashboard using AWS Amplify, AppSync and Lambda.
We are going to use aircraft engine condition monitoring for the use case. Real-time condition monitoring in the airline industry is important to make sure the aircraft is always in ready and reliable condition for preventing the unexpected consequences of failures - collateral damage to lives and equipment, and production loss due to unplanned downtime.
Let's look at the structure of this blog:
- Part 1 - This part guides you through the prerequisites setup and Amplify initialisation.
- Part 2 - We are going to learn how to provision backend resources (i.e. Cognito Auth and AppSync API) using Amplify next.
- Part 3 - Then we are going to build an aircraft engine condition monitoring data simulator using AWS Lambda and NASA's Turbofan Engine Dataset [1].
- Part 4 - Finally, we are going to learn how to connect a React frontend to the AppSync API for visualising real-time data on a time series plot.
Simple enough! Without further ado, let's get on with it.
Part 1 - guiding you through the prerequisites setup and Amplify initialisation
Step 1: Create an AWS account
You need to create an AWS account to use Amplify. Click here (https://aws.amazon.com/) and create a new AWS account.
Step 2: Install Node and Amplify CLI
Install Node
If you don’t have the Node.js runtime installed already, click here (https://nodejs.org/en/) to download and install the latest version.
Once installed, open the terminal and run node -v command to make sure the installation was successful. The Node version should be printed on your terminal window.


Install Amplify CLI
The Amplify Command Line Interface (CLI) is a unified toolchain to create, integrate, and manage the AWS cloud services for your app [2]. In layman’s terms, Amplify CLI gives you a set of command line tools for provisioning AWS services (e.g. Cognito, AppSync, Lambda, etc.) simply by running a set of commands from your terminal.
To install the Amplify CLI, run the below command in your terminal.
npm install -g @aws-amplify/cliTo make sure the installation was successful, run the amplify command. You should see the big and bold Amplify Framework banner appearing on your terminal window.


Step 3: Create and start a React app
Create a React app (Typescript)
The React app is going to be our frontend for showing the real-time data on a time series plot.
Run the below command in your terminal.
npx create-react-app amplify-real-time-dashboard --template typescriptTo make sure the React app is created successfully, run the ls command in your terminal. You should see a folder called amplify-real-time-dashboard. This is the project folder of our newly created React app. Go ahead and open it with your favourite text editor.
Start the React app
Run the following two commands. The former takes you inside the project folder, and the latter starts the react app in your localhost.
cd amplify-real-time-dashboard
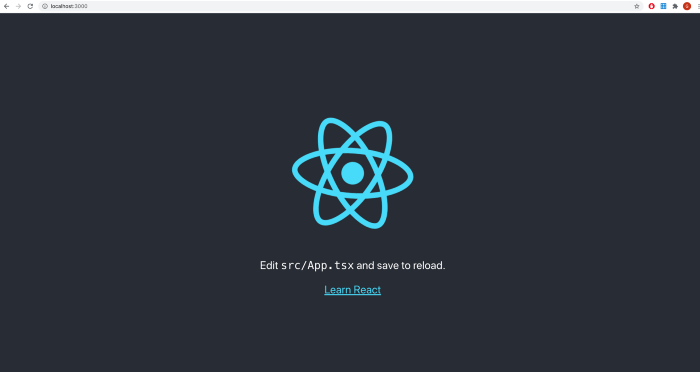
npm startYou should see the React logo animating on a newly opened tab in your web browser at http://localhost:3000/.

Step 4: Configure the Amplify CLI
Open a new terminal window and go inside the React project folder.
cd amplify-real-time-dashboardThen run the below command which will automatically open the AWS Console in your web browser. If you are already signed into the AWS account created in Step 1, you will see the AWS Console dashboard. Otherwise, sign in using the email and password of the AWS account you’ve created in Step 1.
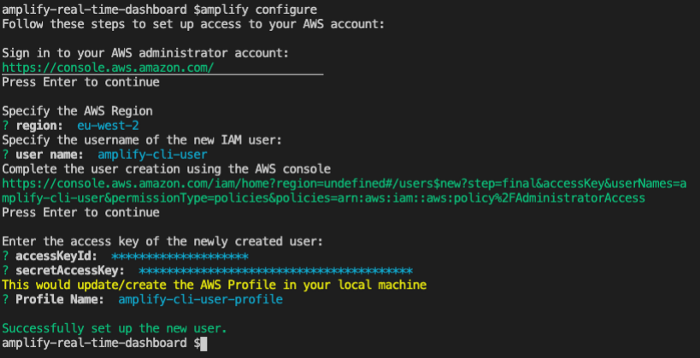
amplify configureThen return to the terminal and press Enter. You will be asked to select a AWS Region. Select a region of your choice and press Enter.
Important: Keep a note of the region you’ve selected as we will need this later.

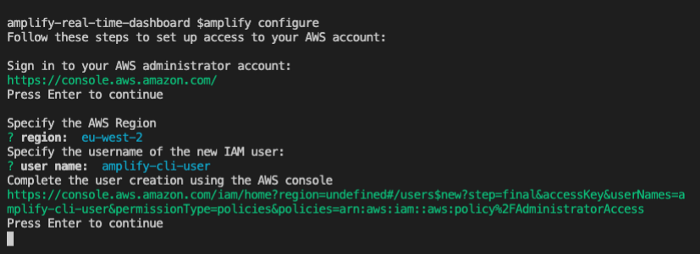
Then type in amplify-cli-user for the username of the new IAM user and press Enter. This will open another tab in your web browser and ask you to create the new IAM user. Complete the IAM user creation process with the default settings selected for you by AWS.
After creating the IAM user, you will be presented with the AccessKeyId and SecretAccessKey. Make a copy of these.


Now return to the terminal and press Enter. Paste the AccessKeyId and SecretAccessKey when prompted. Then type in amplify-cli-user-profile for the profile name.
If you’ve got a message saying Successfully Set up the New User, you have successfully configured the Amplify CLI.

Step 5: Initialise the React project with Amplify
We need to initialise our React project with Amplify so that the backend resources can be provisioned.
In your terminal (still under the React app project), run the following command:
amplify initEnter realtimedashboard for the project name. This is the name of the Amplify project that will be created in the AWS console. Leave the environment as dev. Then choose the text editor of your choice. Choose javascript as the type of the app. Then select react as the Javascript framework. Finally, leave the source directory path, distribution directory path, build command and start command with the default values.

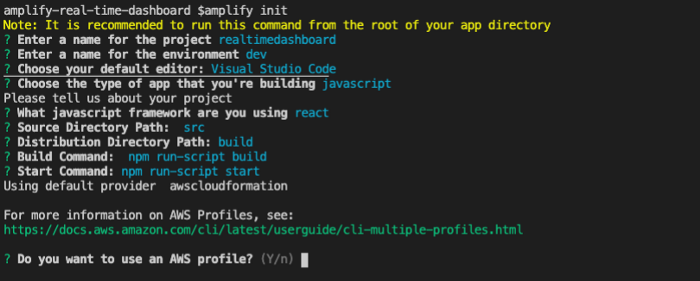
When you are asked to use an AWS profile, type in Y and press Enter. Then select the amplify-cli-user-profile and press enter.
Wait until the Amplify CLI initialises the React project. Once the project is initialised, you should see a folder called amplify in the root of the project.


Now go to the Amplify service in the AWS Console.


Voilà! You will see that Amplify has initialised our project in the AWS Console as shown in the above figure.
Conclusion
In this part, we’ve set up the prerequisites and initialised Amplify. Next week we'll get to the more interesting stuff with Part 2 - Provisioning Backend Resources Using Amplify.
Green Custard is a professional services software company and AWS partner. If you would like to speak to the team about AWS Amplify, AppSync and Lambda, get in touch!